
NIMS allows you to setup your Nursery using your own areas, sub areas and naming conventions. There are 2 steps in setting up your structure.
Define Areas
The first step is to define your main areas and to add your naming conventions.
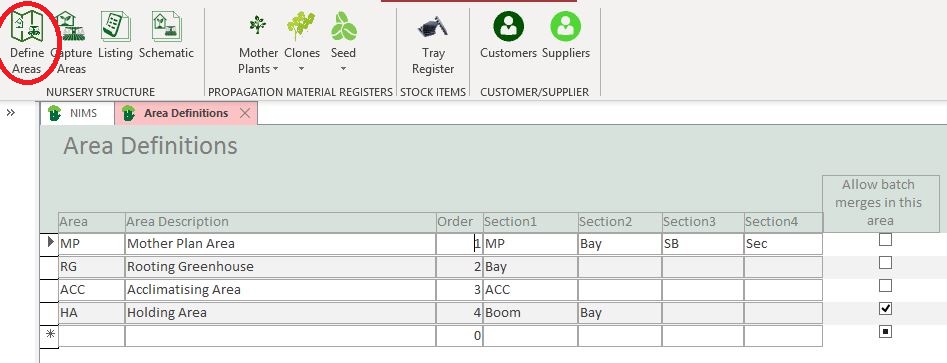
| Area | Add an abbreviated code for your area here. Do not be concerned about the alphabetical ranking or order in which you enter the Areas as the order field will dictate the chronological and reporting order in NIMS |
| Area Description | Enter the full name of the Area here |
| Order | This field will dictate the chronological order of the movement of batches as well as the order in which areas appear on your reports |
| Sections | NIMS allows for up to 4 sections per area. This is NOT the quantity of sections but the category of sections |

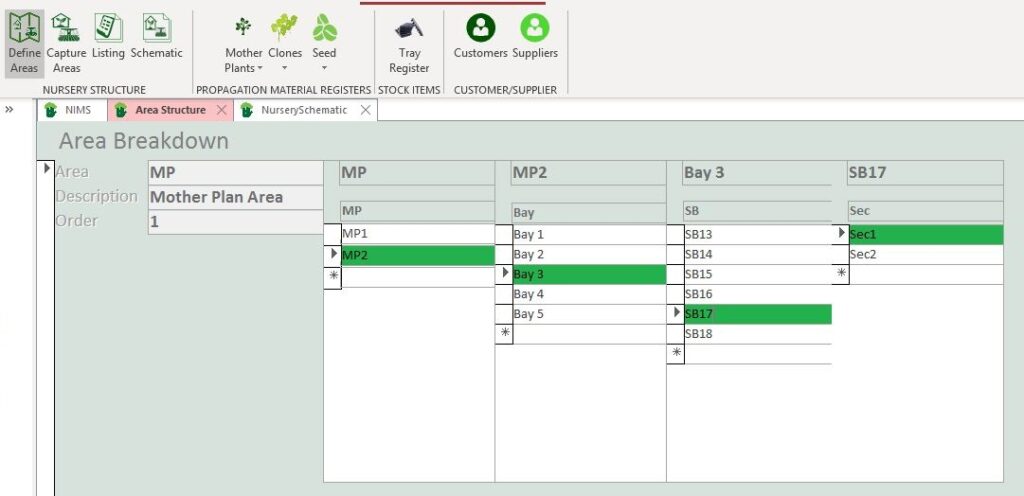
This allows for huge flexibility in design and should cover most Nursery operations. You of course do not have to use all the sections. Here is a typical design for a small nursery’ Mother Plant Area. In this case there is one main Section also named “MP”. This area has been divided into two Greenhouses MP1 and MP 2. These areas have sand beds and each sand bed generally speaking has one section. This was to allow for an emergency division which you can see has been used in SB12, SB17 & SB26
NurserySchematicBelow is an example of a Rooting Greenhouse with only 5 bays. The Rooting Greenhouse would be the Area and the Bays would be Section 1
NurserySchematicRGCapture Areas
Once you have defined the different areas in your Nursery, you would then capture the actual areas you use.
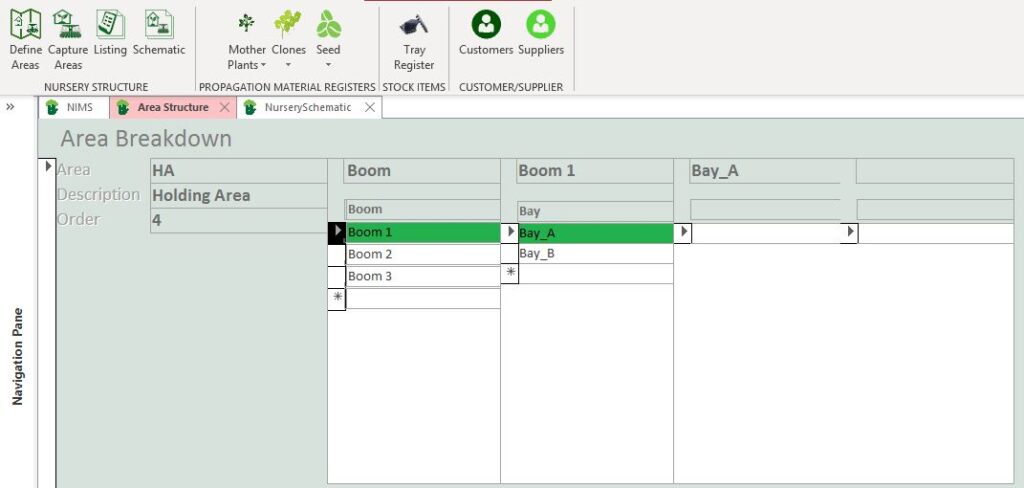
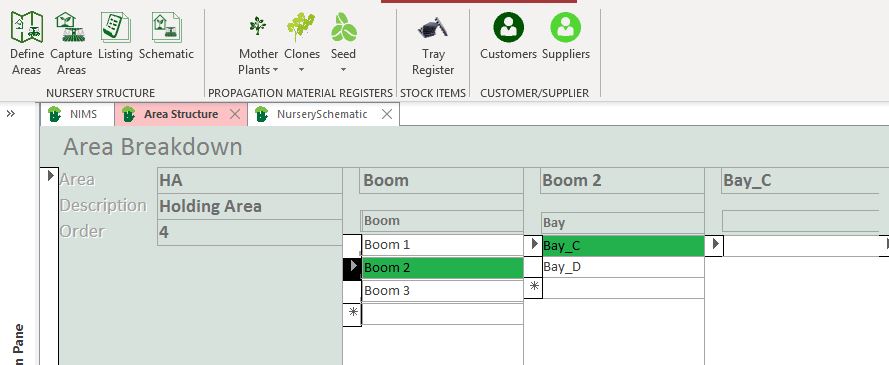
In this example we will look at a small holding area. The area has 3 booms each with 2 bays.
NurserySchematicHA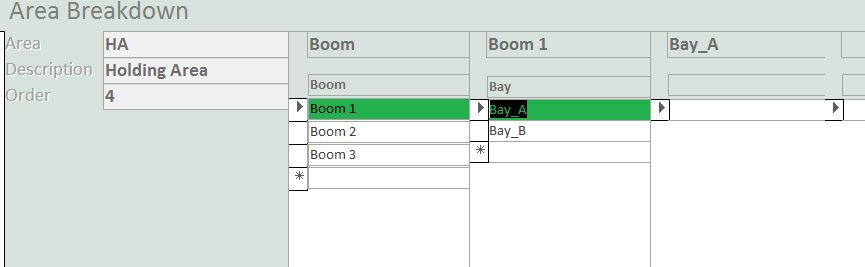
Remember that in this form the headings are interactive and will chnage to the names you have used in the previous section for each area. In our example we have continued from the previous section and we use the Holding Area as an example to explain how to capture your data.
This would be done as follows:
| Our Example Column | Linked to column in area definition | Use |
| Boom | Section 1 | Enter Booms 1 to 3 under column 1 with the heading “Boom” or whatever you defined this area to be named in the first step |
| Boom 1 | Section 2 | Enter for example your bay numbers in column 2. In this example we use “Bay A” and “Bay B” |
| Bay A | Section 3 | In this example we only use Section 1 & 2 so we would simply stop here. If you had more sub areas such as in the Mother Plant example you would add these areas here. |
Note : As you click on the parent section NIMS will filter the child sections to show the correct information
Below is the information for the MP area in our example
Listing
There are two ways to view your Nursery structure in NIMS.
The first is a simple listing:
Nursery-Structure-ListingSchematic
NurserySchematicFullThe second way of viewing your Nursery structure is by way of a schematic. Each section will appear on its own page: