
There area number of stages to adding a propagation batch. These are as follows:
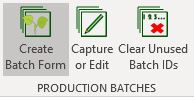
- Create Batch Form
- You need to create batch numbers for the days propagation
- This will allow you to print your daily production form which can be used to capture the days production in the Nursery.
- Capture or Edit
- You would capture the days production for each batch number using the information from your form
- Clear Unused Batch ID’s
- Should you have created to many Batch numbers for the day, you can clear the unused batch numbers by
Create Batch Form
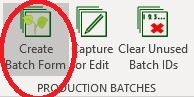
Click on Create Batch Form to open the parameter form allowing you to generate the batch numbers for the days production. On this form you will be able to :
- Create the batch numbers
- Print the blank form withe batch numbers for the day
- Print the captured form once the data has been entered.
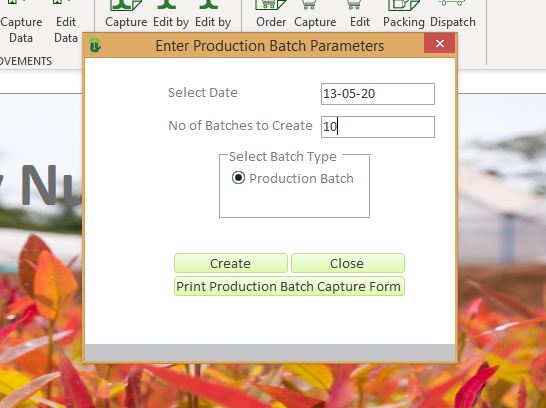
| Field | Description | Use |
| Select Date | Enter the production date | Enter the production date. If you enter a date which has already been used, NIMS will fetch already captured batches from that day and display them on the form. |
| No of Batches to Create | Enter the number of batches you wish to create. | You would enter the expected number of batches you wish to create. If you get this wrong, it is not a problem as you can clear any unused batch numbers after the fact. Also if you do not capture enough batch numbers for the day you can add more. If you had already created 5 and you wanted 8 for example, you would simply enter the correct date, enter 3 into the field and click on the |
| Create Button | Once you have filled in all the fields you can now create the batch numbers by clicking on this button | |
| Close Button | Click here to close the form | |
| Click here to view the form | This will show the form in preview mode which you can then print for use. |
The next stage is to print and complete the form. In the example below the form has some information already entered but also has some empty batch numbers. We will use this example to show you how to complete the form as well as to clear batch numbers.
Cutting-Production-Form| Field | Use |
| Plant Date | Will be printed with the form and is the date you entered on teh previous form. |
| No of Workers | This is the number of workers which you are using during the days production |
| Batch | These are the batch numbers you chose to create. Note that there are two types of batches in NIMS – Production batches pre-fixed with “P” and merged batches pre-fixed with “M”. You can only create production batches here. Merged batches are created under the Merge menu group |
| SeedLot/ CloneID | Enter either the Clone ID or SeedLot ID here. Remember this will be verified by NIMS when capturing |
| Mother Plant ID | If you are propagating clones, you will need to enter the Mother Plant(MP) Id. We have allowed you to enter the location of the Mother Plant on the form but is preferable to enter the MP ID here. It will save the data capture person from having to find the MP codes/Id’s . |
| Time | Optional. Enter the time that the batch was completed |
| Tray Type | Enter the tray code. |
| Tray Density | Enter the Tray Density. NIMS originally worked with percentage densities but we found that in practice, actual quantities were preferable. So in this example a 96 cell tray filled to 100% capacity has a density of 96. A 50% tray would have a density of 48 |
| Tray Quantity | Enter the number of trays in the batch |
| Cuttings/Seed Qty | Optional – We found that the supervisors liked to fill in this field to ascertain there own production values. This is calculated by NIMS so is verified when entering the data |
| GH | Enter the destination of the batch. As it is a Greenhouse, we only capture the subsections. The data capture person should be able to accurately allocate this. |
| Comments | This is a comment field allowed for capturing any comments about the days production. This can be captured in NIMS |
| Supervisor Signature |
Capture/Edit Batch
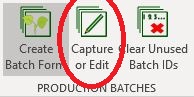
By clicking on the Capture or Edit menu option, you wil be able to capture the data for the batches which have been produced for the day. This option also allows you to edit previously entered batches.
Remember that your batch numbers have already been captured, so in a manner of speaking, you are editing already existing batches. You can select to edit individual batch numbers or you can select to edit a days worth of batch numbers.
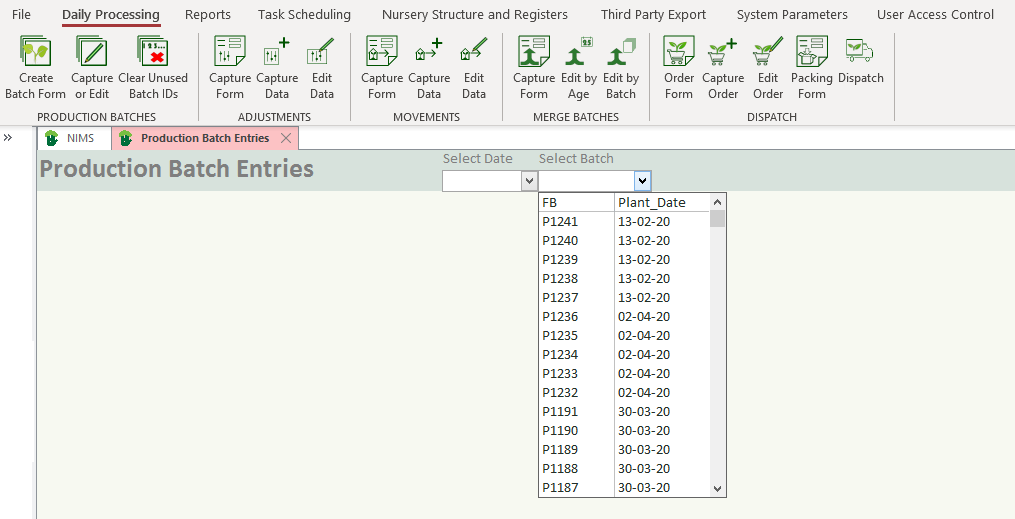
By Selecting the Select Batch drop down, you will be able to select a single batch to edit. The drop down shows the batch number in descending order with the planted date next to it.

If you would rather select the days batches to enter, the selection box shows you the date in descending order and the number of batches planted on that date on the right.
Both of the above take you to the data capture screen, but the navigation is slightly different.
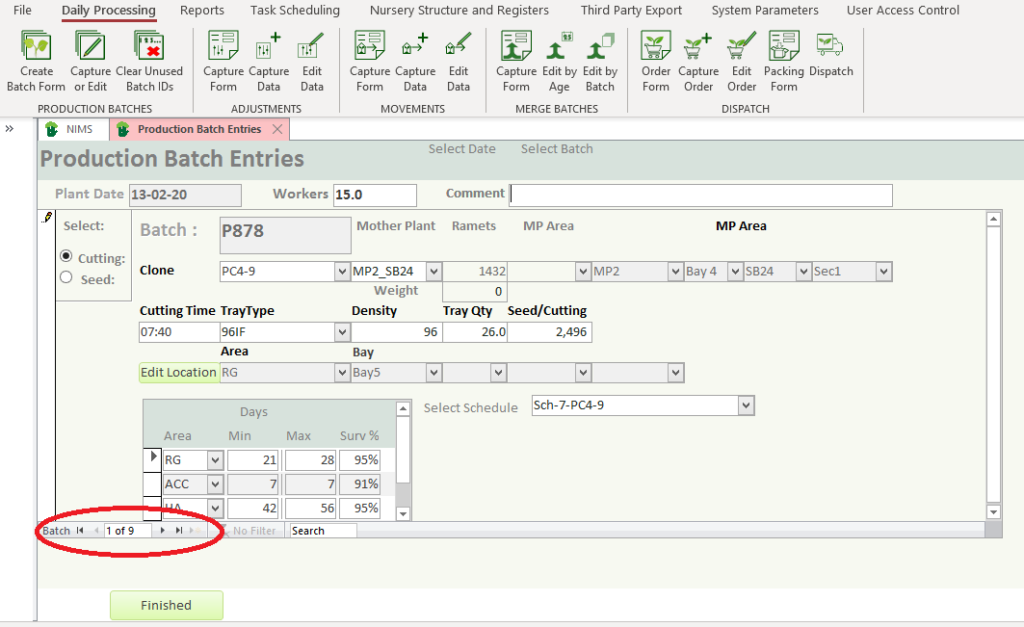
If you select to edit batches by date, you will be able to use the batch selector buttons on the bottom of the form (Circled in red) This will allow you to scroll though the batches for the day selected. You will notice that the Plant date is grayed out. You will not be able to edit the plant date for these batches. You can only edit a plant date of an individual batch and not a group of batches. Below is a screen show of the individual batch capture form which we will also use to explain the different fields.

The first section has information relating to all batches planted on that date
| Field | Description | Use |
| Plant Date | The date on which the Batch was planted | This date would already have been created when you generated the batch numbers and there should be no need to edit it. We have allowed for changing a batch from one date to another should the need arise. If you enter a date that has never been used before the date will be added to the system. If there were batches entered on the new date, this batch will be moved to that date. |
| Workers | No of workers that day | This figure is applicable to all batches propagated that day, not how many workers it took to plant this specific batch. |
| Comment | Day Comment | This is the comment for the day |
The second section relates to the individual batch
| Field | Description | Use |
| Cutting or Seed | Select whether the batch is propagated from a cutting or from seed | Simply click on the applicable radio button |
| Batch | Batch Number | This has been created and cannot be entered or changed |
| Clone | Clone ID | Only available if Cutting : Select the applicable clone ID |
| MP ID | Mother Plant ID | Only available if Cutting :Select the Mother Plant. Note that NIMS will filter the allowed selection to Mother Plants from the chosen clone. |
| Cutting Time | Enter the cutting time | |
| Tray Type | Select the correct tray type | |
| Tray Density | Enter the correct tray density | The Tray Density is an actual cell density rather than a percentage. So a 96 cell tray packed at 50% will be a density of 48 |
| Tray Qty | Enter the number of trays in the batch | |
| Seed/Cutting | This is a calculate field | This field is calculated as: Tray Qty * Tray Density. Note that it can be edited. If you change the value in this field then the tray qty will be adjusted accordingly. |
| Select this to chose the location of the batch. | This opens the planting location selection form. | |
| Select Schedule | Select a growing schedule | See Scheduling for more information |
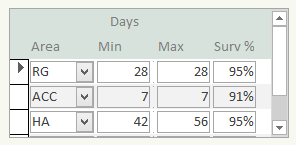 | This information is propagated from the Clone data. | If you are expecting this batch to deviate from expected growth and survival rates, you can change these expectations here. All projection reporting is derived by looking at each individual batch. |
| Click here to return to the selection panel. |
Selecting the batch location
When clicking on the ![]() button the following form opens
button the following form opens

| Field | Example | Use |
| Area | RG | Select the area to which the new batches are going |
| Level 1 | Bay | Select the level 1 sub section that the batch is going to |
| Level 2 | Select the sub-sub section that the batch is going to | |
| Level 3 | Select the sub-sub-sub section that the batch is going to | |
| Level 4 | Select the sub-sub-sub-sub section that the batch is going to | |
| Click to update | Clicking OK will update the location of the batch | |
| Click to Cancel | Clicking CANCEL will close the form without updating or changing the location |
Clear Unused Batches
Select Clear Unused Batch ID’s to clear any numbers you may have created but did not use for the day.
| Select to view unused batch numbers before clearing them | |
| Select without previewing the batch numbers to clear. |