

During the process of developing your seedlings for distribution, you will have a number of adjustments. NIMS allows for two basic adjustment types:
- A Loss adjustment – This is always a decrease in the number of seedlings in a batch
- An IN/Out adjustment – This is a redistribution type of adjustment. This can be used for decreasing tray densities for growth objectives or even increasing tray densities for packing and distribution. Another way of putting this is that the quantity of plants does not change but the quantity of trays does.
These adjustments are captured per batch and not per tray. This means when doing grading for example and you sort and fill trays, you would not record any change other than the loss adjustment. At the end of the day you are going to lose seedlings but the tray densities would remain the same. Should you however combine activites such as grading(loss) and re-distribtion(IN/Out) you would record two seperate adjustments.
Adjustment Names – NIMS allows you to create your own adjustment types on the above premise. This will allow you to use terminology which your staff are already familiar with.
Capture Form
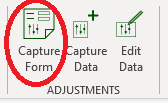
The first step in capturing your adjustments is to print your adjustment capture form. This will allow you to capture the daily adjustments in your Nursery.
Adjustments-Capture-FormThe first half of the form is used for capturing loss only adjustments.
| Field | Description | Use |
| Date | Date of adjustments | Enter the applicable date |
| Batch ID | Enter the batch number | Simple enter the batch number. Remember to prefix with a “P” for production batches and a “M” for merged batches. |
| CloneID | The batch Clone ID | Optional – NIMS has already linked the clone ID to the applicable batch. Some nurseries felt it would be useful to have the information on the form |
| AdjType | Adj Code | Enter the adjustment code |
| Location | Enter the Area where the adjustment occurs | This is important as you will later have reports which give you an adjustment report linked to areas in your Nursery. This is also important as the batch will move from area to area. The area is directly related to the date. This means if the date and area are not correct, your stock figures will be affected and will not be correct. |
| # Cuttings/Plants | Enter the number of plants lost | This is the number of plants lost or destroyed. |
| Tray Density | Enter the tray density | Densities are recorded by number of cells and not by percentage in NIMS |
| Tray Quantity | Enter Tray Quantity | Enter the number of trays. This will be verified on capture by multiplying the number of plants by the density |
The second half of the form is used to capture and IN/OUT adjsutment.
| Section | Field | Description | Use |
| OUT | # Cuttings/Plants | Enter the number of plants out | This is the number of plants out. It should be the same as the number of plants in |
| Tray Type | Enter Tray Code | ||
| Tray Density | Enter Tray Density | Densities are recorded by number of cells and not by percentage in NIMS | |
| Tray Quantity | Enter No of Trays | Enter the number of trays. This will be verified on capture by multiplying the number of plants by the density. The tray quantity will be different to the tray quantity IN | |
| IN | # Cuttings/Plants | Enter the number of plants IN | This is the number of plants IN. It should be the same as the number of plants OUT |
| Tray Type | Enter Tray Code | ||
| Tray Density | Enter Tray Density | Densities are recorded by number of cells and not by percentage in NIMS. This normally changes when redistributing | |
| Tray Quantity | Enter No of Trays | Enter the number of trays. This will be verified on capture by multiplying the number of plants by the density. The tray quantity will be different to the tray quantity OUT |
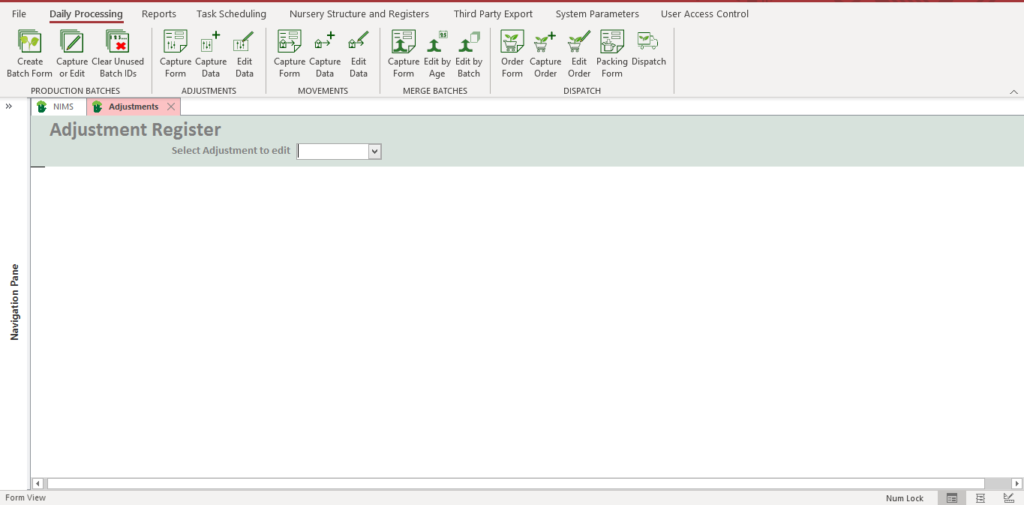
Capture and Edit Adjustments
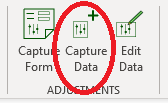 | 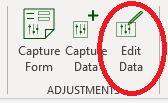 |
The form for capturing and editing adjustments is essentially the same. There is only some minor difference in navigation.
The most important thing to remember is that all adjustments are linked to the batch number. This means when you are wanting to find an adjustment to edit, you will need the batch number. Firstly let us look at the main differences between the capture form and the edit form
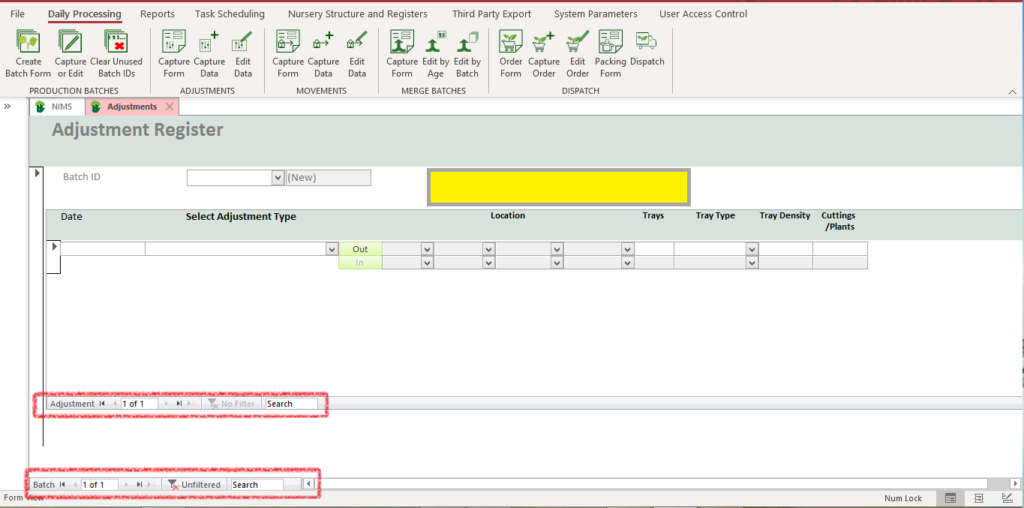
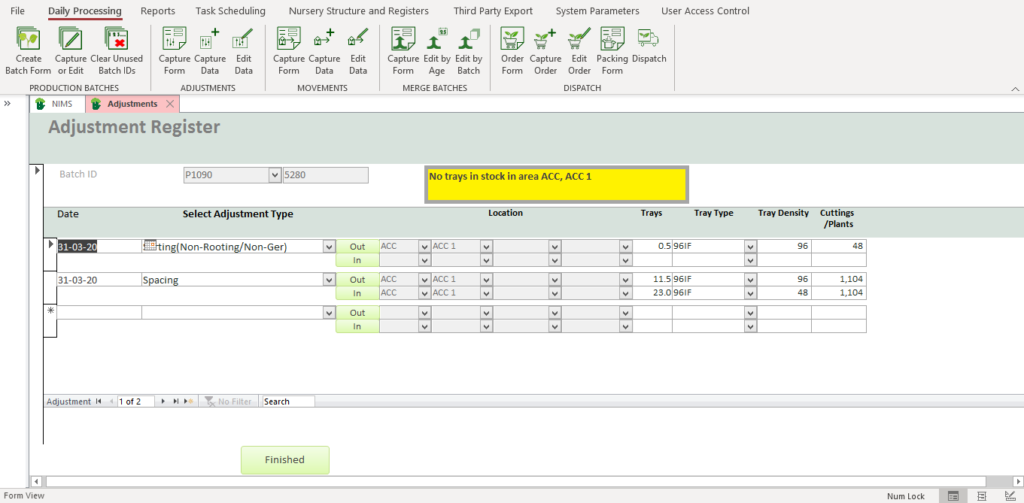
As can be seen form the above screen shots, there are three major differences between capturing adjustments and editing them:
- When capturing you can scroll though both adjustments on the batch as well as batches themselves. This is for ease of capturing the data from a form.
- When editing data you can only scroll through the adjustments for selected batch.
- When editing adjustments you get a pre-selection screen allowing you to select which batch you wish to edit.
- The last thing to remember is that when entering a new adjustment to a batch, NIMS will fetch all adjustments and display them if you select a batch that already has adjustments. This is because the adjustment file is structure d by batch, so as soon as you fetch a batch it will return all its existing adjustments. This is handy as you can quickly scan and make sure that there are no duplicates.
| Field | Description | Use |
| Batch ID | Enter the batch number | This is the batch number linked to the adjustment |
| Date | Enter Adjustment Date | |
| Adjustment type | Select Adjustment Type | Note that if you change adjustment types from IN/OUT to OUT any data in the IN fields will be deleted or cleared. |
| Select Out Location | ||
| Trays | Enter No of Trays | Enter the number of trays. This will be verified on capture by multiplying the number of plants by the density |
| Tray Type | Select Tray Code | |
| Tray Density | Enter Tray Density | Densities are recorded by number of cells and not by percentage in NIMS |
| Cuttings/Plants | Enter No of Plants | This is the number of plants Lost or OUT |
| Select IN Location | If you have chosen an adjustment type which is and IN/OUT adjustment, this button and the fields below will be activated. | |
| Trays | Enter No of Trays | Enter the number of trays. This will be verified on capture by multiplying the number of plants by the density |
| Tray Type | Select Tray Code | |
| Tray Density | Enter Tray Density | Densities are recorded by number of cells and not by percentage in NIMS |
| Cuttings/Plants | Enter No of Plants | This is the number of plants IN |
When clicking on ![]() button the following pop up form appears allowing you to select the batch in the location that you wish to do the adjustment on.
button the following pop up form appears allowing you to select the batch in the location that you wish to do the adjustment on.
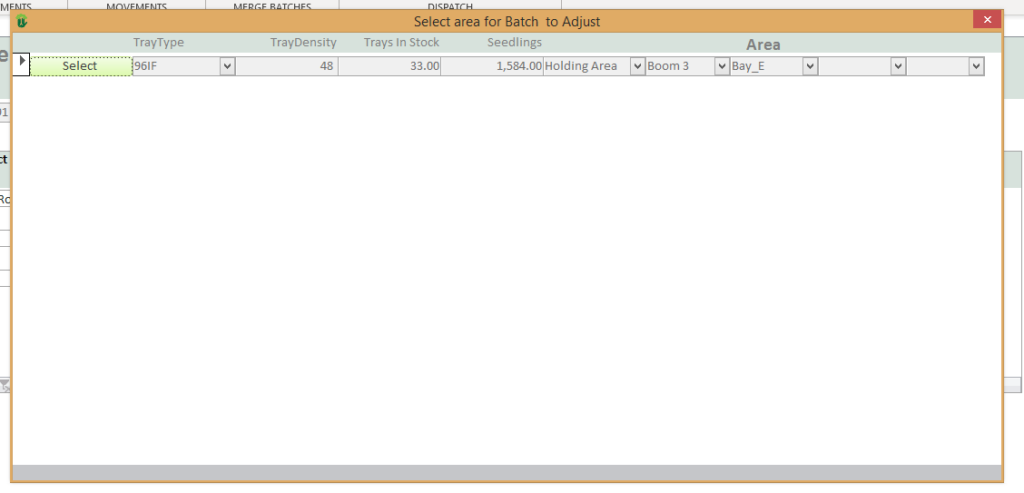
Click ![]() on the button to select the appropriate location. When you have an IN/OUT adjustment you will also need to select the location again using the following form
on the button to select the appropriate location. When you have an IN/OUT adjustment you will also need to select the location again using the following form

| Field | Example | Use |
| Area | Area | Select the area you wish to move the batch to |
| Level 1 | Acc | Select the first sub section |
| Level 2 | Select the sub-sub section if applicable | |
| Level 3 | Select the sub-sub-sub section if applicable | |
| Level 4 | Select the sub-sub-sub-sub section if applicable | |
| Press to select and update the Movement capture form | ||
| Select to cancel and not update or change the Movement capture form |